Installing drywall around pipes can be a bit tricky, but with the right approach, you can achieve a smooth and professional finish. This step-by-step guide will help you navigate the process with ease.
Before you begin, gather the necessary materials and tools:
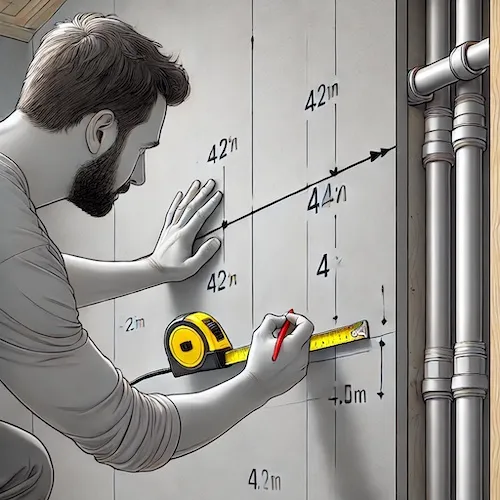
Start by measuring the area where the drywall will be installed. Use a tape measure to determine the distance from the edge of the wall to the center of the pipes. Mark these measurements on the drywall sheet with a pencil.
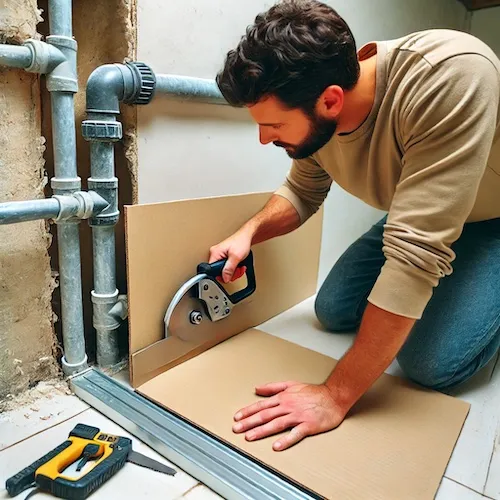
Once you have marked the drywall, cut the sheet to fit around the pipes. Use a drywall saw or utility knife to carefully cut out the sections where the pipes will be. Ensure the cuts are precise to avoid gaps.
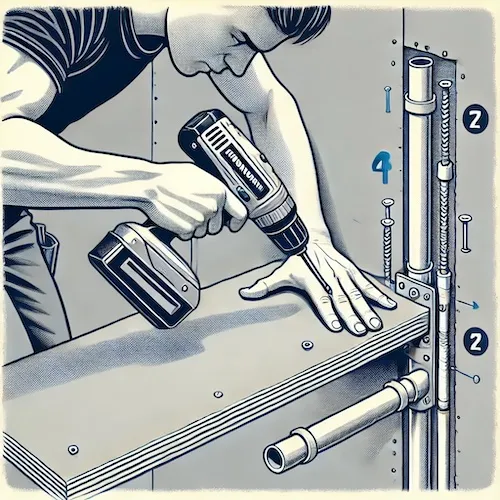
Place the cut drywall sheet against the wall to check the fit around the pipes. Make any necessary adjustments to ensure a snug fit. The drywall should sit flush against the wall without any gaps around the pipes.
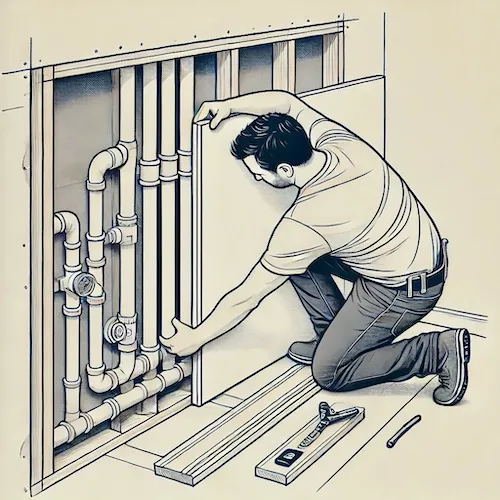
With the drywall properly fitted, secure it to the wall using drywall screws or nails. Use a screw gun or hammer to fasten the drywall in place, making sure not to damage the pipes. Space the screws or nails about 12 inches apart along the edges and in the field of the drywall.
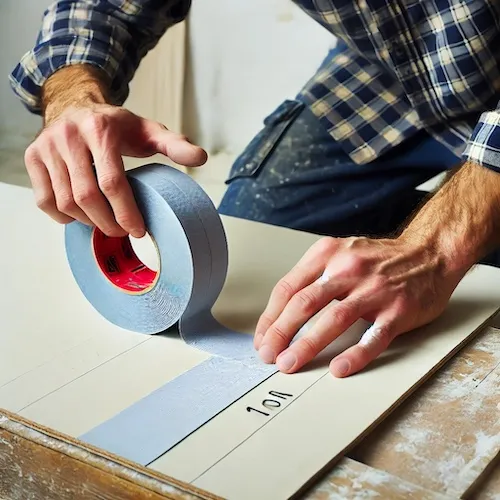
After securing the drywall, apply drywall tape over the seams where the drywall sheets meet. This helps create a smooth surface for the joint compound. Press the tape firmly to ensure it adheres well.
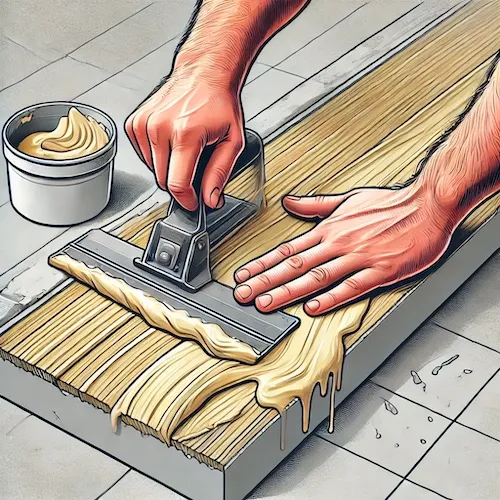
Using a putty knife, apply a thin layer of joint compound over the taped seams. Spread the compound evenly to cover the tape and create a seamless finish. Allow the compound to dry according to the manufacturer's instructions.

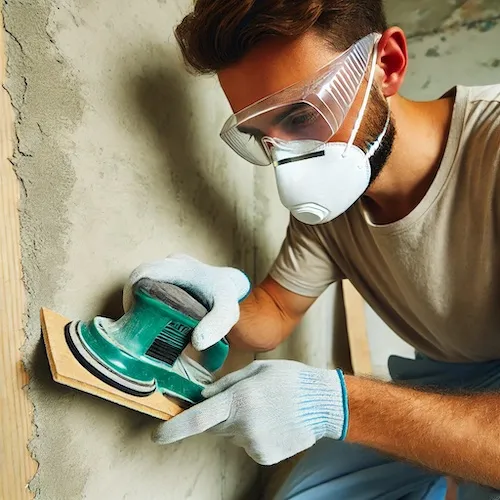
Once the joint compound is dry, use a sanding block or sandpaper to smooth out the surface. Sand lightly to remove any bumps or ridges, being careful not to damage the drywall. Wear safety goggles and a mask to protect yourself from dust.
If the first layer of joint compound did not cover the seams completely, apply a second layer. Let it dry and sand it again for a perfectly smooth finish. Repeat this process until you are satisfied with the result.
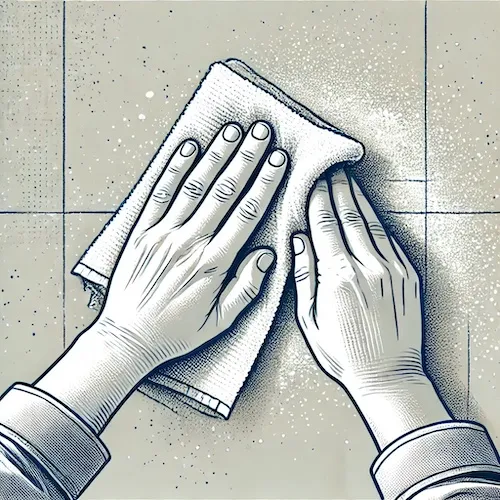
After sanding, wipe the area with a damp cloth to remove any dust. Your drywall is now ready for painting or finishing as desired.
Installing drywall around pipes requires careful measurement, precise cutting, and attention to detail. By following these steps, you can achieve a professional-looking result that seamlessly integrates the drywall with the existing pipes. Take your time, and ensure each step is completed thoroughly for the best outcome.
If you need services related to your drywall in the Kingston, Ontario region, use this link to contact the best service provider in the area.
Copyright © 2024 | Powered by: Earnanswers