A Comprehensive Guide
Taping drywall is a crucial step in achieving a smooth, seamless finish for walls and ceilings. This guide will take
you through each aspect of the process, from gathering materials to applying the final coat. By following these steps,
you'll be able to create a professional-looking result.
Gathering Materials and Tools
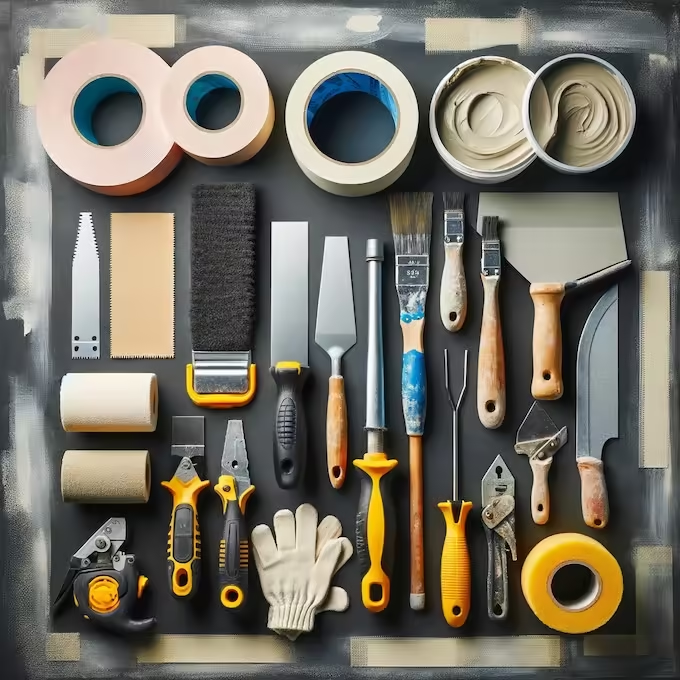
Before you begin, it's essential to have all the necessary materials and tools. Here's what you'll need:
- Drywall tape (either paper tape or mesh tape)
- Joint compound (mud)
- Taping knives
- Corner trowel
- Drywall sanding sponge or sandpaper
- Mud pan
- Utility knife
Preparing the Drywall
Proper preparation ensures a better finish:
- Check for gaps and fill any significant ones with joint compound
- Clean the surface to remove dust and debris
- Inspect fasteners to ensure they are set below the drywall surface
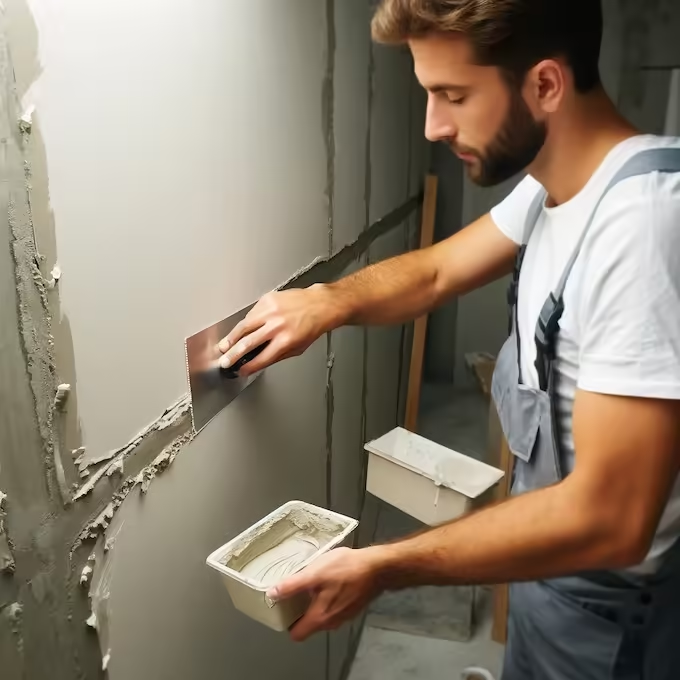
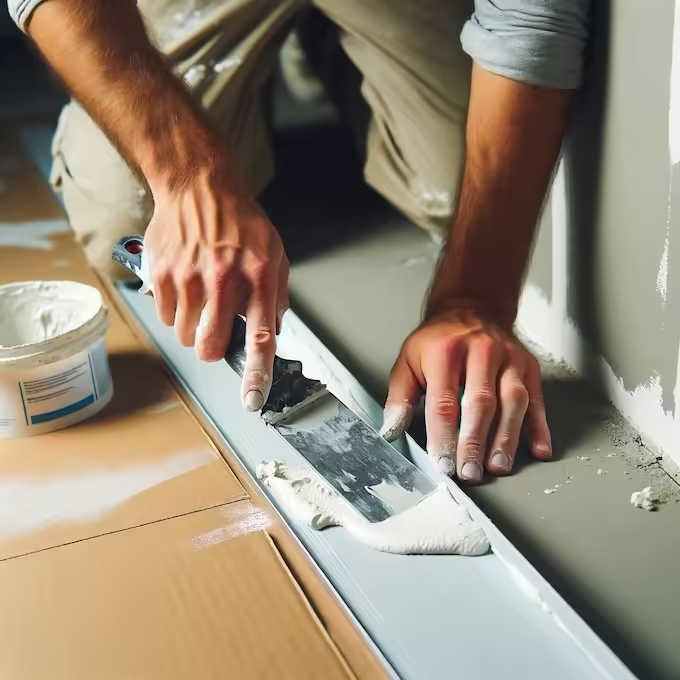
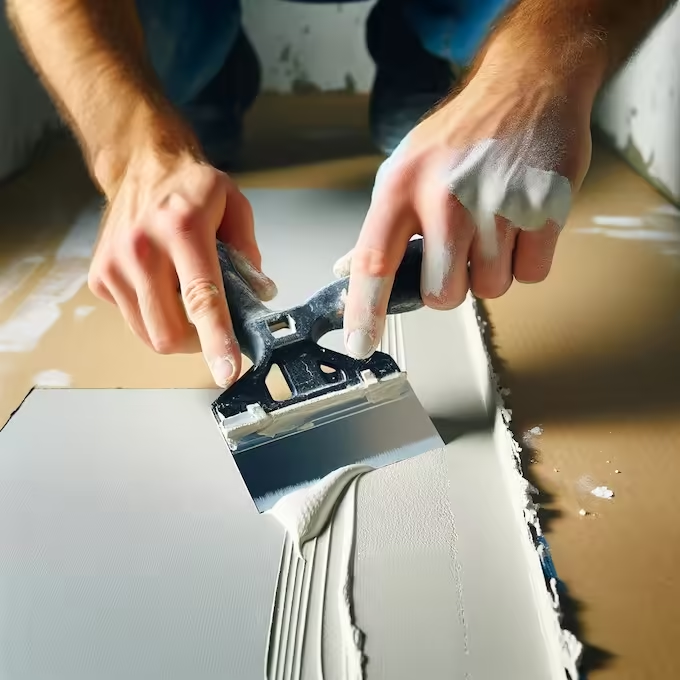
Applying the First Coat of Joint Compound
The first coat is the foundation of your taping work:
- Mix the compound if using powdered form
- Apply a thin layer over the seams using a 6-inch taping knife
- Aim for a smooth, even layer
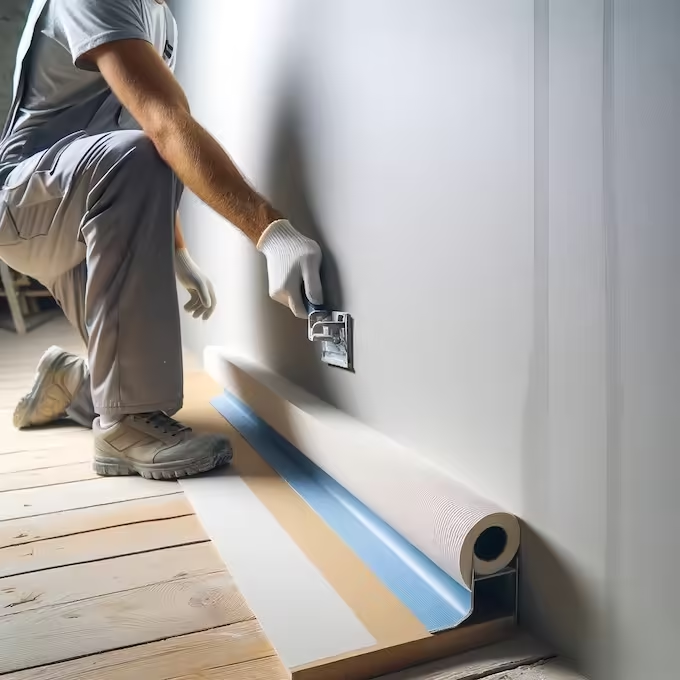
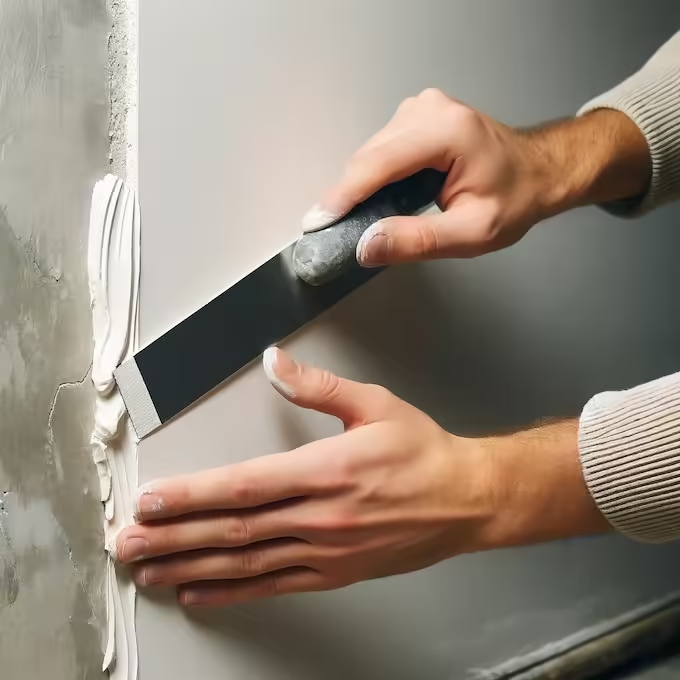
Embedding the Tape
This step is crucial for strength and preventing cracks:
- Cut paper tape to fit the seam
- Center it over the joint and press it into the wet compound
- Smooth it out with a knife
- Or press self-adhesive mesh tape over the joint and follow with joint compound
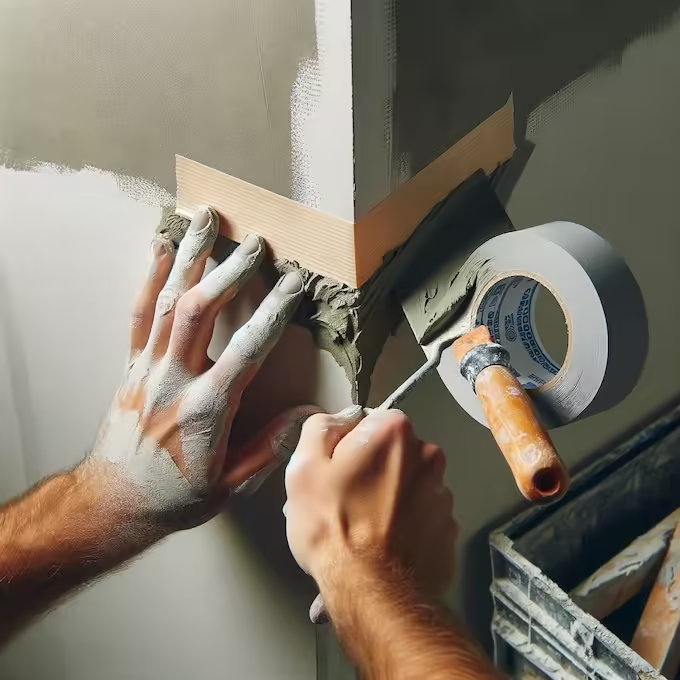
Taping Inside Corners
Inside corners require special attention:
- Apply joint compound with a corner trowel
- Fold paper tape down the middle and press into the compound
- Smooth it out with a knife
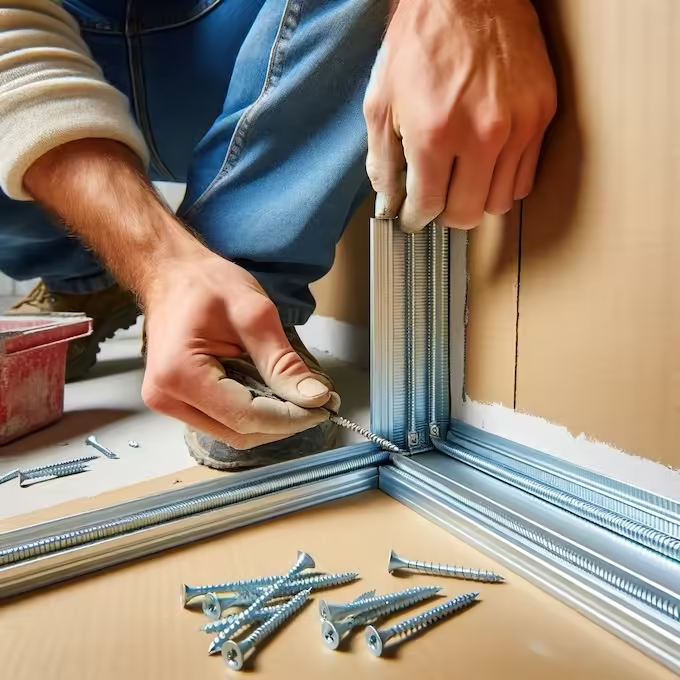
Taping Outside Corners
Outside corners use a metal or plastic corner bead for protection:
- Secure the corner bead with drywall screws or nails
- Apply joint compound over the corner bead with a 6-inch knife
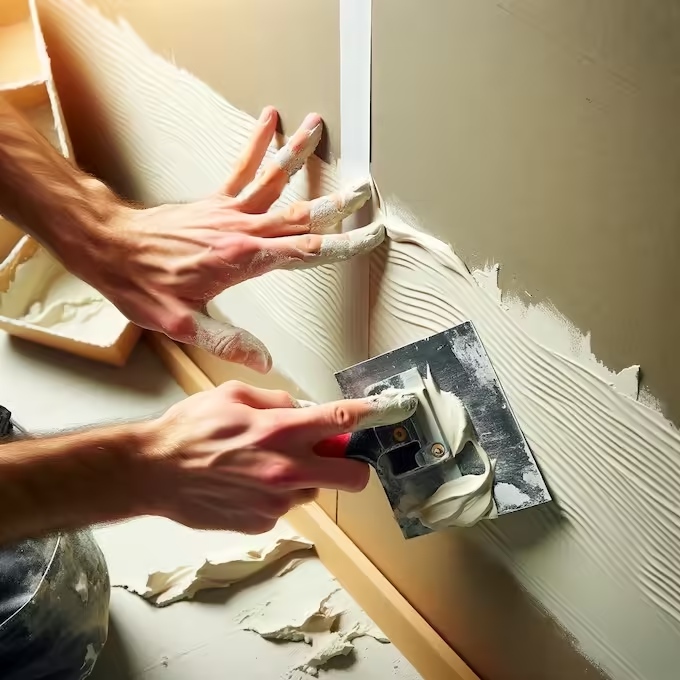
Applying the Second Coat
The second coat covers and smooths the tape:
- Switch to a 10-12 inch taping knife
- Apply a wider layer of joint compound over seams and corners
- Allow it to dry completely
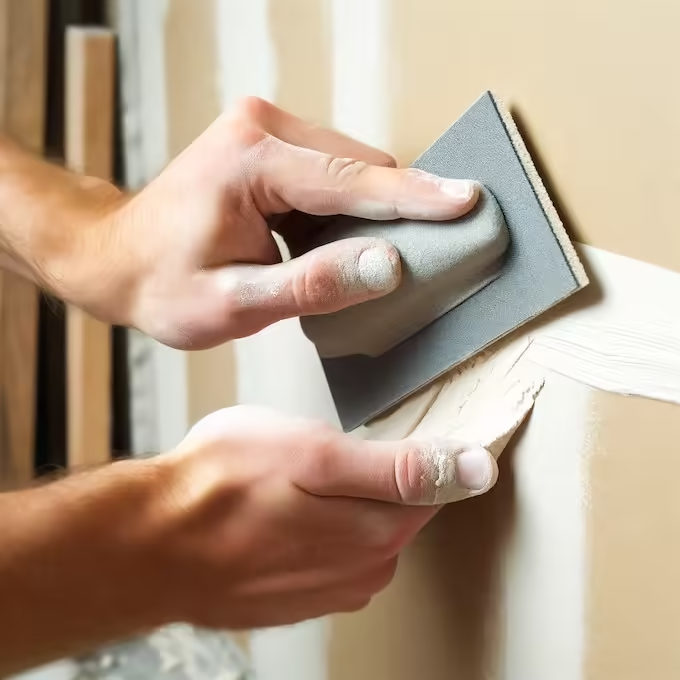
Sanding Between Coats
Sanding ensures a smooth surface for the final coat:
- Use a sanding sponge or sandpaper to lightly sand the dried compound
- Wipe away dust with a damp cloth

Applying the Final Coat
The final coat provides the finishing touch:
- Apply a thin, even layer of joint compound
- Feathering edges to blend seamlessly with the wall
- Ensure corners and outside edges are smooth
Final Sanding and Inspection
The last sanding prepares the surface for painting:
- Use fine-grit sandpaper to achieve a smooth finish
- Check for any imperfections and touch up as necessary
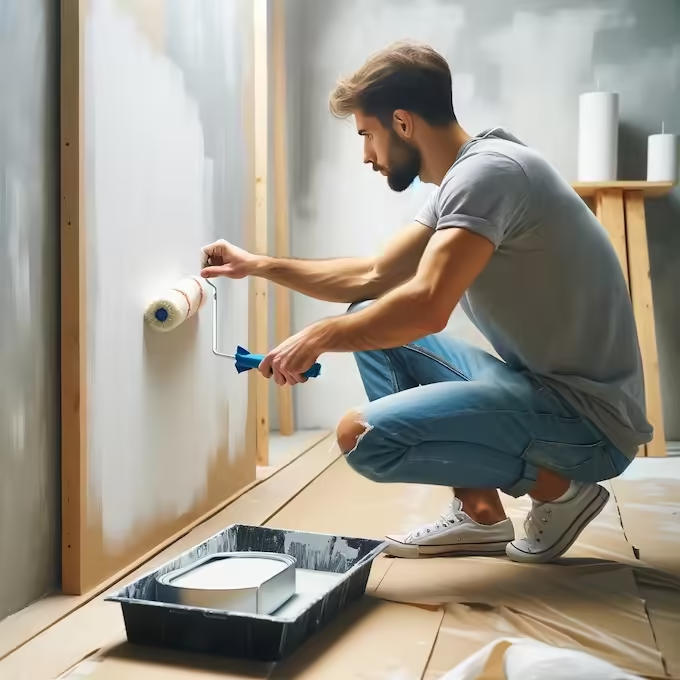
Painting Preparation
Preparing the drywall for paint is the final step:
- Apply a primer to seal the joint compound and provide a uniform surface for paint
- Inspect the walls for any missed spots
Conclusion
Taping drywall is a skill that improves with practice. By following these steps carefully and taking your time,
you'll be able to achieve professional-looking results. Whether you're a DIY enthusiast or a professional, mastering
the art of drywall taping can significantly enhance the quality of your work.
Extra Readings Worth Looking Into
Contact Us For Drywall Services
Contact us: Drywall Kingston Repair Services